MultiplyのTwitterイラスト検索結果。 87ページ目



4º Passo: E vamos de Shading né mores? Lembrando que eu fiz em camadas diferentes no modo Multiply, pra dar essa impressão de profundidade, vamo que vamo >:3


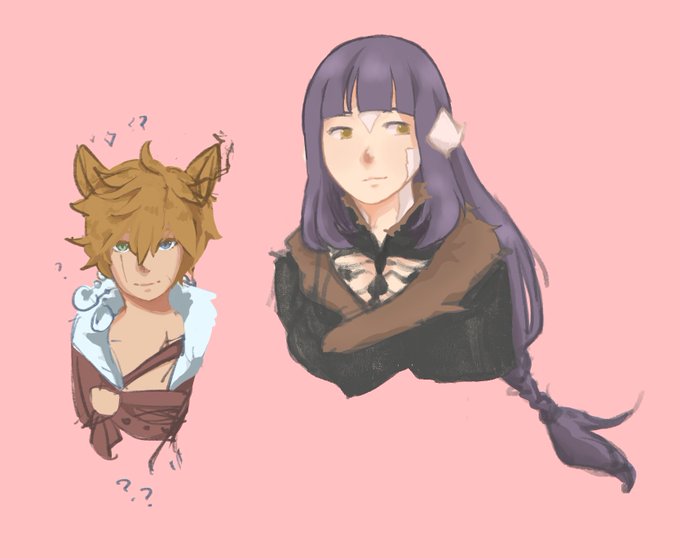
Sketching one of @tseu_tsumi's NPCs for #Vampiretherequiem/#godmachinechronicle game that finished a few days ago. (I'm also figuring out Multiply layers )

@SAStudioADHD I use this tip all the time. To make colored lineart easily color the lines a faded red, set the layer to multiply, duplicate the line layer, set to color burn. Lower the opacities of both and gaussian blur the copy to make the art look softer 👌

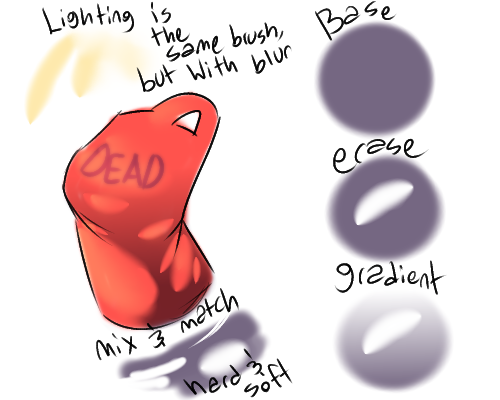
here's a ref for how i do my lighting ft. a sloppily drawn tank top! realized i got a LOT of compliments for how i do lighting when it's actually... kind of lazy... so here's my secrets! use any lighting/shading layer types you want, of course; this is just overlay & multiply

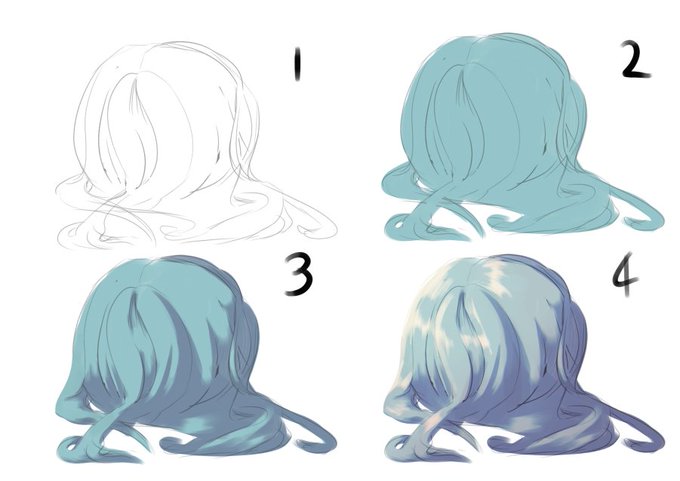
How I do hair for full illustrations
1 sketch
2 flat
3 multiply layer purple
4 highlights + tone curve editing


I decided to go with A buuuuuuut give the eyes a bit more of highlight :3
P.S. This is just a light sketch with one layer on "multiply" so I know it has a lot of mistakes @_@


How many years have a been doing digital art and only now do I finally understand what multiply does?
Anyway it's day 4.


✨이고아트 아카데미✨
내 그림은 왜 완성해도 밋밋해보이지? 하는분들 주목!
곱하기 레이어(multiply) 활용으로 그림에 입체감을 더해보아요😆
무언가 2퍼센트 부족해 보일땐, 내가 명암을 충분히 짙은색으로 넣었나? 하며 확인해보면 좋아요!


step by step for painting the eyes ~
note: i kept the sketch as multiply layer on top of the skin layer up to step # 3
#art #digitalart #ArtistOnTwitter #bts #btsfanart #YOONGI #SUGA #tutorial #stepbystep #painting

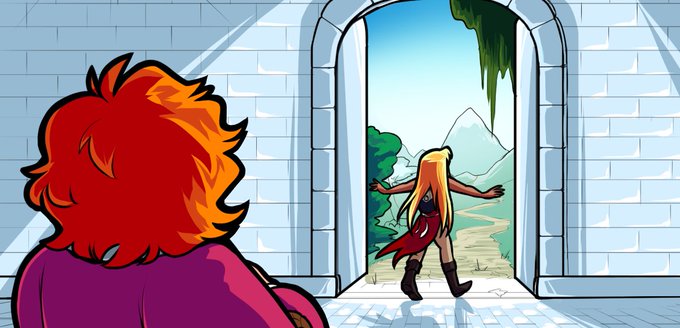

todays outro is trying to get away from my reliance on multiply layers... but im not entirely sure how i want to color anymore


I present to you how i see myself. My hair is a mess. Also one has the multiply effect for shading and the other one is the original. #digitalart #ArtistOnTwitter #art


I'm drawing warrior cats again!
i learned a new technique in photoshop by using multiply layer on my paper sketch, i chosen my design of Bluestar and even added little Firepaw too
it was fun to make and i hope to do more 😉✨
#warriorcats #wcotw @theclandom #Bluestar #Firepaw


Added shadows and highlights using masks in AfterFX using Multiply and Screen blend modes. Then added a #BabyYoda 😁


Oh yeah, I can't ever start coloring digitally without first establishing a set of tint/hue-setter Multiply/Overlay layers. _(:3_/
they really help me find the exact color schemes I want~
default -> with overlay -> with overlay + multiply



Oh, no! The pixels are multiplying!! (I think I might be obsessed... XD )
I learned of a new shading technique called "dithering" and wanted to try it out for myself. And... I REALLY like how the lineless one of this pair turned out! :D


my dumb art tip:
celshade everything because im an lazy asstit
+ only 1 special layer <overlay/hardlight/multiply/.. whichever you want> for making tits look bigger


I remembered that multiply layers exist 😳😳😳
I've decided what to name HisoHoma child too 👀👀👀
Her name is Portia (Homare's decision, obviously) from Shakespeare's work: Merchant of Venice.


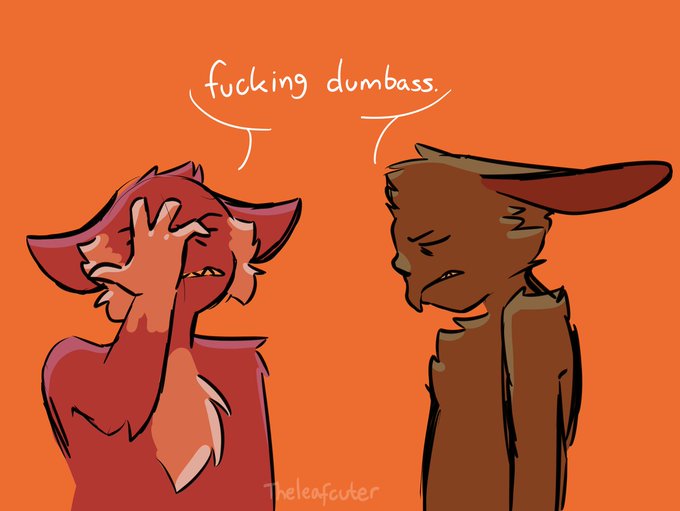
@freckledOctopus This very specific way of shading... when I just add a multiply layer and erase where the shadow isn't. Also multiply layer is 99% guaranteed to be magenta