ColorのTwitterイラスト検索結果。 1,021,524 件中 323ページ目


render yum
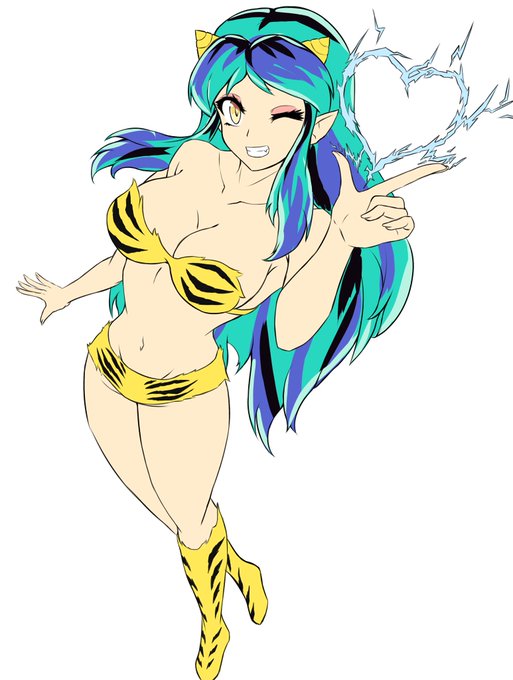
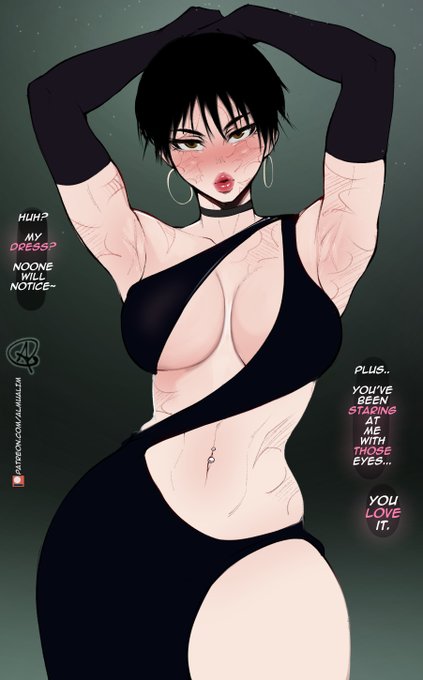
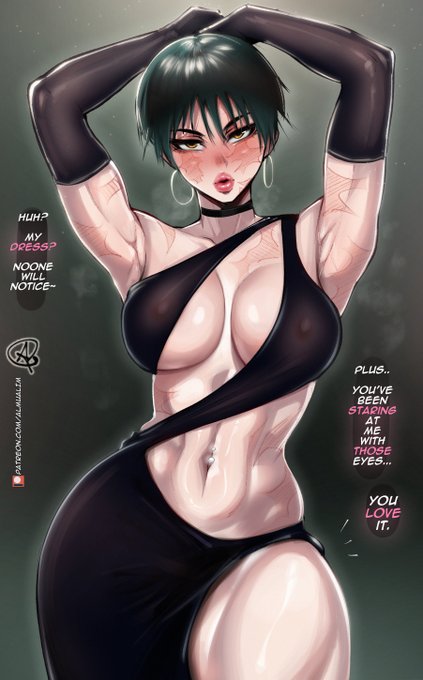
flat colors // fully rendered ✨ https://t.co/OjES6GAd4d


before render -> after render
i dont have actual flats coz my file orginization is terrible. I think I still have a long ways to go when it comes to rendering, but i like to believe i've learnt a bunch from doing colors more often now 🥴 https://t.co/XTwHVty8It


Can't decide if I want to go with the original colors or the new


I actually don’t do flats. I literally just start slappin colors and values on there https://t.co/YZZfRB0Dfw


seeing that new art trend go around except i don't usually put down flat colors 💦
---
rough colors >> render
#HonkaiStarRail #danheng


wandbagon
flat colors // fully rendered https://t.co/QumfNlZOn9


I love sharing process! Everyone is so cool!
Sketch+Rough Color // Rendered https://t.co/v22P0EdEqc


エーデルガルト描きました✨
ちょっぴりダークな感じにした!
#エーデルガルト #FE3H #透明水彩 #watercolor


For me personally, line art and color palette is the cake, everything beyond that is the icing.
flat colors // full render https://t.co/H1R2cVfWXq

flat colors // fully rendered 🤭
#JJK #JujutsuKaisen https://t.co/hmeS6Nzf2F


I nearly didn't do this trend because I tend to shade mid flats lmao
Flat colors // full render https://t.co/4tCiY1M6ik

