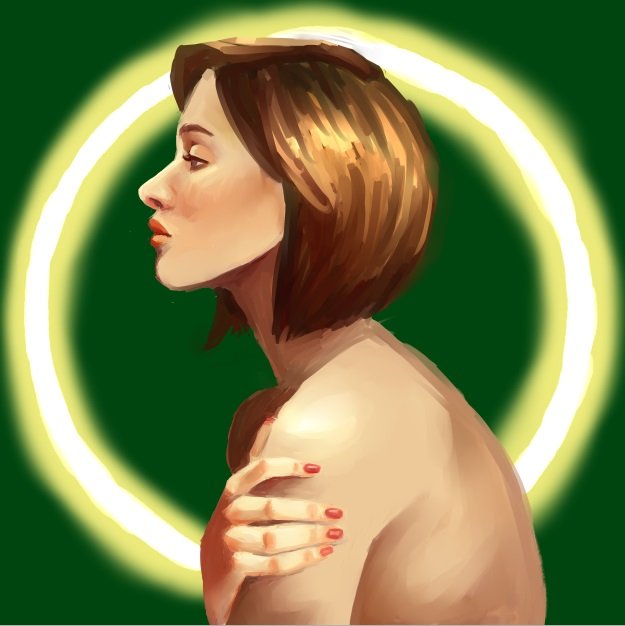
10. i change the yellow to orange, then i darken the green to create contrast and also lower the brightness on her cuz shes against the light. then i add harsh highlights around her where the neon would hit. I slap on a signature, then adjust brightness and contrast and its done!
9. now, i paint the actual background (on a separate layer in case i need to change it). i keep the green, but i use a darker one.
8. clean up! i use the white background to see the edges easier. flipping an image will also mostly tell you if the proportions are wrong.
7. define some highlight on the hair and shoulder, i gave her nails, then defined the shadows more for higher contrast
6. I darken the shadows more, and use more appropriate colors. start adding detail to the hands as well. again, dont be afraid to keep coming back to the reference image, it really helps.
5. By now, i detail the face and refine some of the edges. i usually hide the sketch layer for this, but keep it there so i can keep coming back to it if i need to.
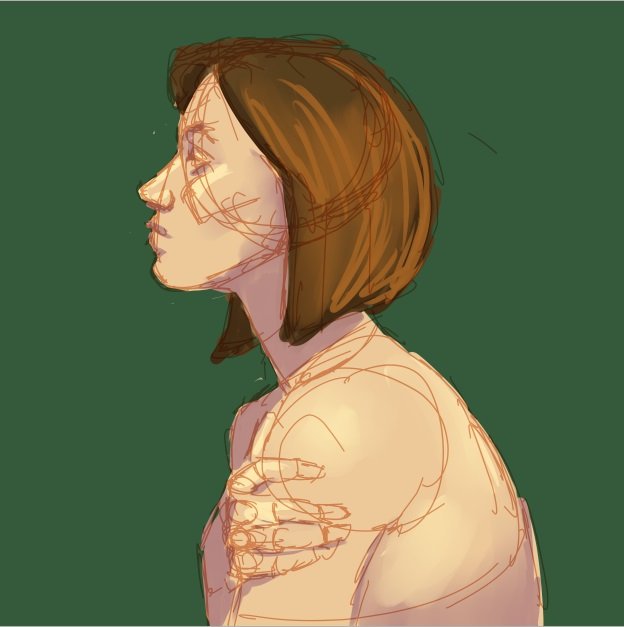
4. Add colors on a separate layer. i start placing my shadows and highlights down at this point, as a whole, i work zoomed out. so i can see how the colors look as a piece, i only zoom in when refining or working on details. at this point, i lower the opacity of the sketch layer.
THE THING NOBODY ASKED FOR BUT I WILL DO: Im sharing my art process for this!
A Thread.
((https://t.co/7u8RZwLc2J))
#art #digitalart #process
more art
((https://t.co/veewnH36fW))
#digital #digitalart #art #portrait
ive been working on this artwork for wayyyyyyy too long.
https://t.co/m5ytOpdqCV


