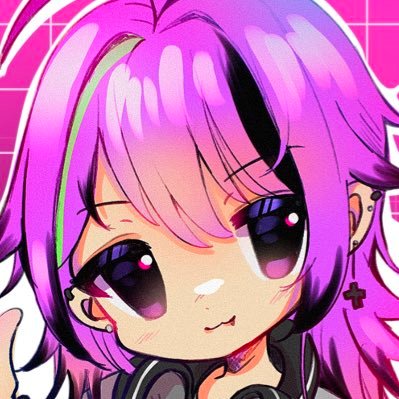
Line Weight: CRUCIAL!!! I can't stress enough how bold your lines need to be in some areas. If you don't do this, your emotes will not be easily identifiable at a small size and will end up too messy looking.
SAME BRUSH / SIZE BTW
Tutorial: Emote Basics!
This guide will help beginners get started on creating cute emotes!
Final Step: All the shinies (my favorite part)
This step may seem trivial but it adds an extra level of shine to the whole piece and makes it really pop imo!
I take a add glow layer above the entire thing and use the watery brush to add white highlights!
Incorporating the line art (very important for softer looking emotes)
Taking the airbrush on a clipped normal layer, I apply a reddish color (depending on the piece) to the areas hit by the light or around the face.
Then taking a clipped glow dodge layer to add the first shinies.
Time for lighting and shadows! I take the airbrush on a yellow color and apply to the outer rim of the head where the light will be. Then, taking a darker red color, i apply shadows to the bottom of the hair. Personal touch, i add some purple hues to the shadows.
Next is blending! I take the blend tool and use upward motions from around the face and where the light will be placed later.
After applying the base color, i start by taking the CSP watery brush and apply the shadows to the hair with a darker orange color.


