opacityのTwitterイラスト検索結果。 1,333 件中 53ページ目


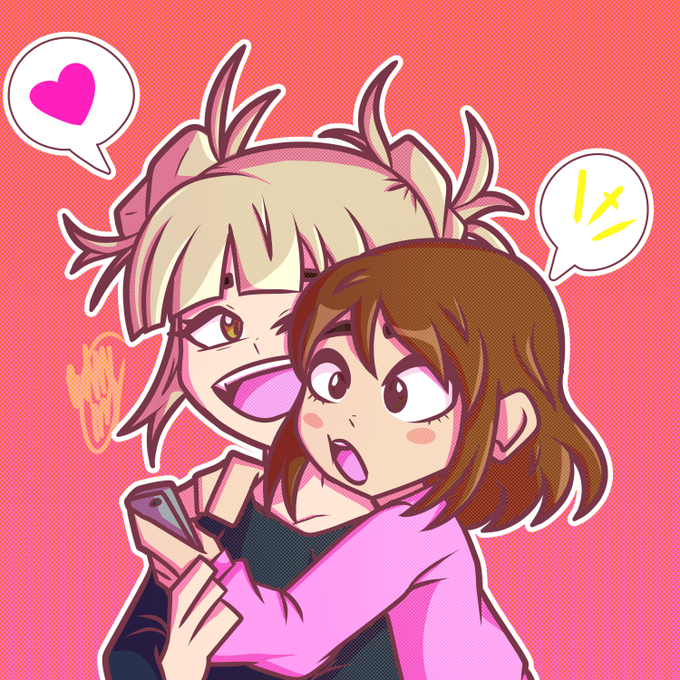
My idiotic ass accidentally made this with lineart instead of lineless. Then when I tried to fix it, I accidentally pasted the line art version on top of the lineless and lowered the opacity. This actually looks good.


5. Highlight. Tips: bikin semua layer warna di satu grup, bikin layer shadow jadi clipping group layer warna biar gak mleber. Layer highlight bikin jadi clipping group dari folder layer warna. Pake warna putih, udah gitu ganti mode layernya jadi overlay, opacity 80%


4. Shading, btw ini palet aku buat kulit di gambar ini sama palet shading secara general. Pic1 itu pas mode layer normal. Kalau udah nentuin shading di mana aja, ganti ke mode layer multiply, opacity 75-80% biar hasilnya kaya di Pic2

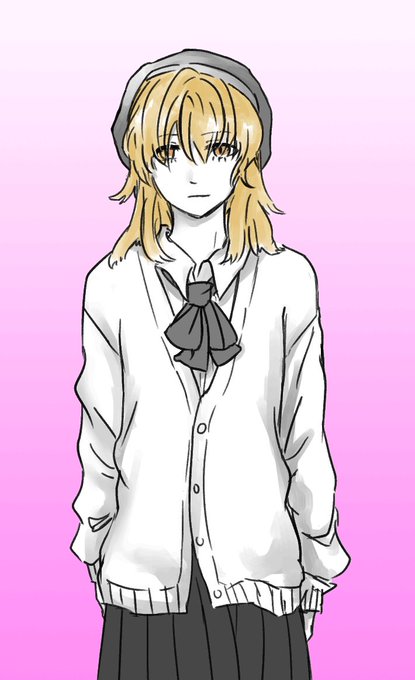
Character expressions! 😊
I finally know how to do a dissolve-like effect in the Photoshop animation timeline thing: do tweening frames between 2 pics, change the second (bottom pic) to full opacity in the tween frames, and also make the tween frame intervals really fast 👍

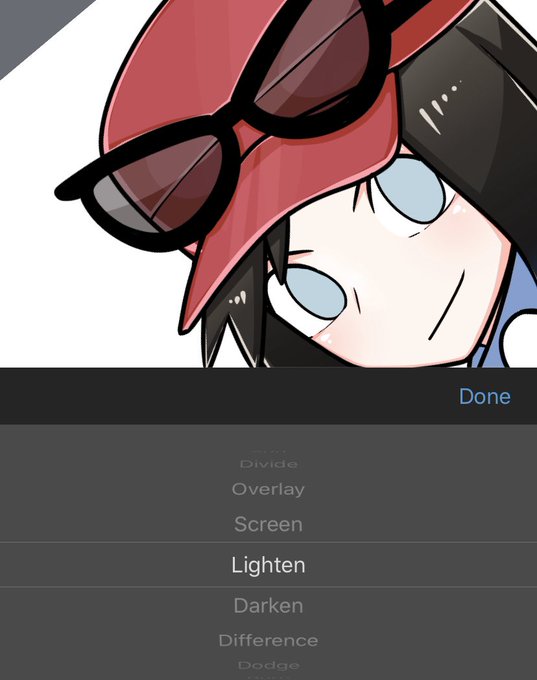
Art Tip nobody cares about: Try using the layer trash thing? Idk what it’s called lmao but it’s the thing with Overlay and Screen and stuff. It’s good for making colours seem transparent yet vibrant (instead of toning down opacity)


Hehe I actually kinda like this kind of style. 💕
Jojo bizarre adventure style is part of me seriously. Sometimes I over do the lines but it's all good. *tonedowntheopacity *givescolor 😂
@bb0un @Prem_space fanart👌
#bb0un #noppanutguntachai #premboun #bounprem #prem_space


@heavendotsai @noahbradley @ImRachelBradley ...oh shoot, you said digital art.
This digital piece mimics my traditional techniques.
I learned:
Color on a multiply layer (img 1) is subject to the background, like markers, only digital.
Limited opacity on a normal layer (applied in img 2) lets select details pop.


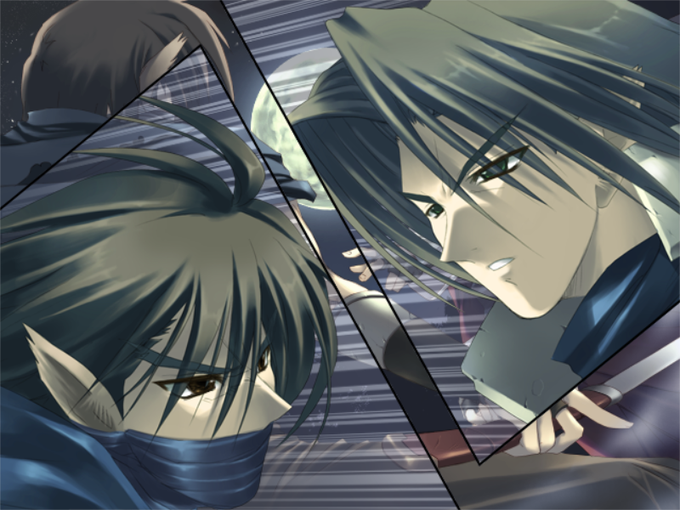


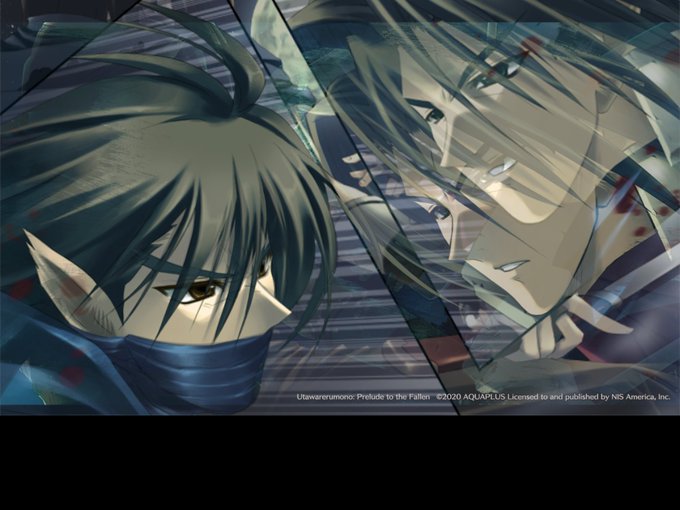
Gone are the dramatic lines and cut-out regions! Now their heads are directly overlaid on the previous image with regions of brushed out opacity.
Oboro's hair has barely changed, unlike Benawi's hair and facial structure.
Also there's now blood.


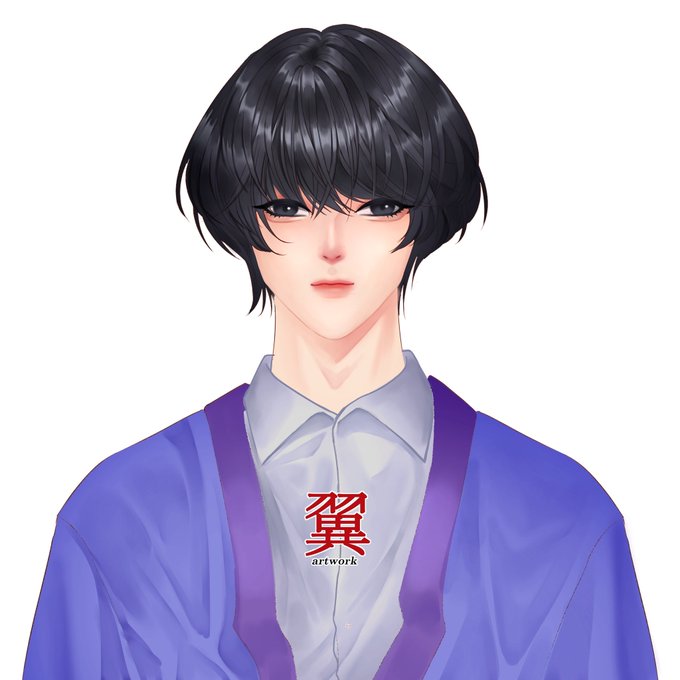
@zonakaryaid coba gini aja nder, itu base colornya dicopy jadi multiply, dihapus pakai soft eraser (kalau pakai csp) terus turun in opacity nya, habis itu new layer tetap multiply dan buat cloth fold nya masih pakai base color kalau agak belibet boleh banget kok japri


@PerezAl91025416 @_shugabunny Thank you!
Shading.... combos?
I usually use a brown-lavander-greyish color on a multiply layer, then use 1-2 more multiply layers to darken specific parts, play around with opacity. I’m terrible at highlights so I used a clipped add layer (gold) on the flat colors


tw// lots of flashing colors and pics
Here’s the somewhat condensed progress vid, where you can see a lot of my,, slow deliberation lol
Also I turned down the opacity @ one point & couldn’t figure out what I did, so I changed the bckrgnd color 50million times in desperation🙃


I challenged myself today to draw without using any opacity brush. (Unless it's for a background)
I'd say, it was very fun to do. Maybe other people should it too.


Here's a couple detail shots, too. Ultimately this piece taught me a lot about actually *finishing* stuff, and how to go about that whole workflow getting it completed. The shading/coloring was done with a lot of layering of a low-opacity default brush in CSP.


Practicing painting!!! I really need to get better at colored lines and using opacity so I’ll practice that for a while I think~


as long as you dont zoom in you wont see that my lineart was on 90% opacity without me realising ;) #LaxusDreyar #FairyTail #HiroMashima #LaxusFairyTail #FairyTailLaxus

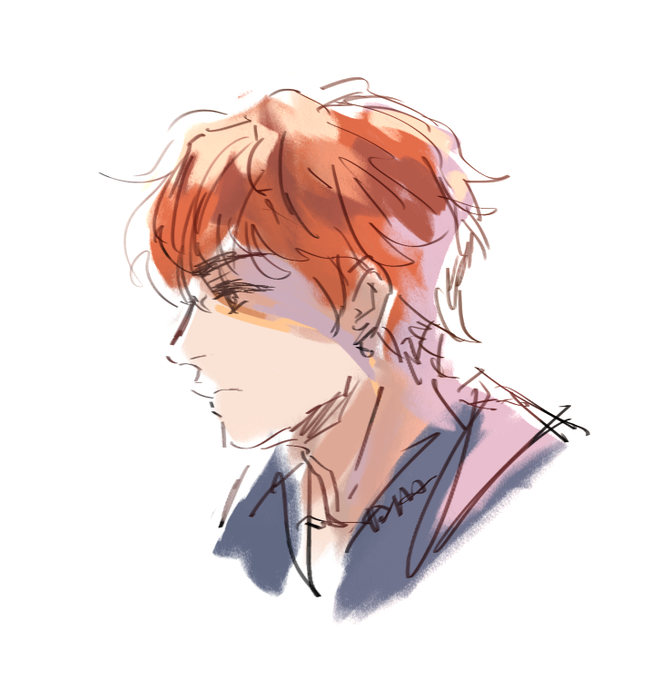


I drew @sxdYxndere again X3
(I deleted the previous post because the lineart was 30%opacity ;-; )
#Yuri #Drawing #DigitalArt #Yandere