opacityのTwitterイラスト検索結果。 1,338 件中 17ページ目


Here's a quick trick that I use to make colours look a bit nicer! I add a new layer, set it to hard light and at 30% opacity, and colour over it with the image colour that fits the character!
Comparisons from before and after applying the layer:


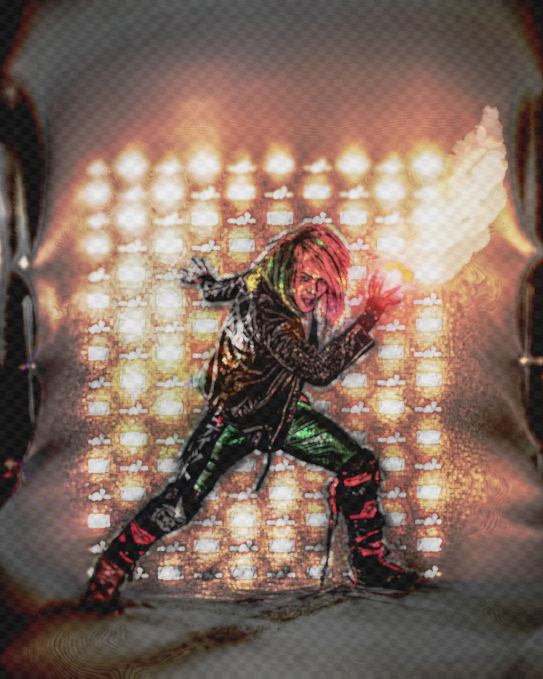
Practicing some effects in gimp (aka the smoke, glow, opacity & stuff 😳😅), needa work on it more but hopefully you like it @kiddbanditpro 🙏😊🧡, just wanna show you my art side of things 😁, gonna see if i can boost the stuff up tho if i can


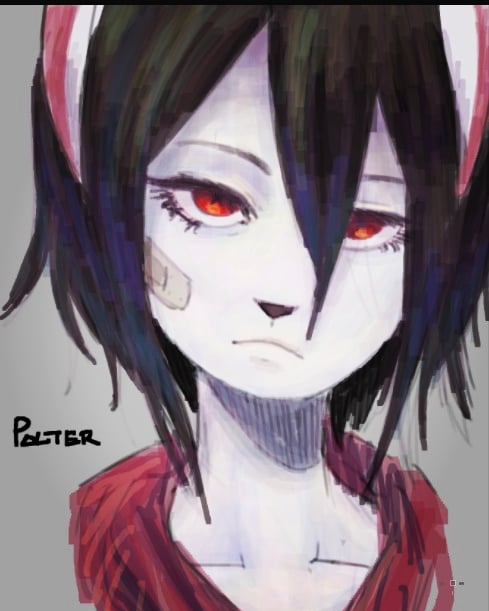
omg i just noticed how borked the opacity was on those so here's another set that's hopefully more opaque!!


@MattDARTheReal It even passed the opacity trick
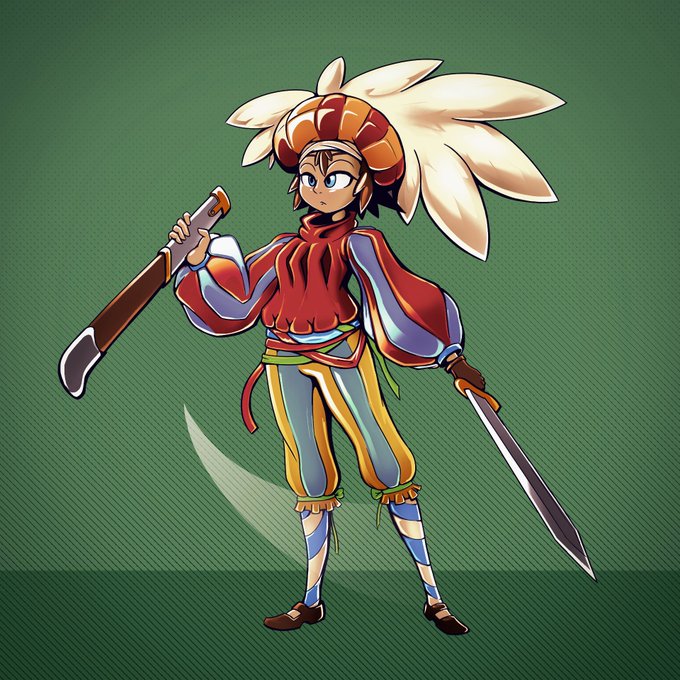
ITS HEAVILY TRACED


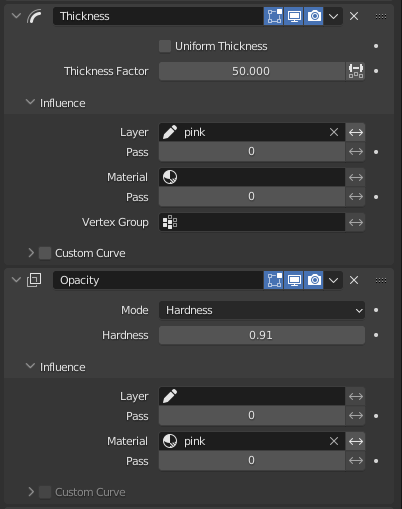
BOOTHで販売しているSubstancePainterのToonShaderにAlphaBlend機能付きのシェーダー追加しリリースしました。これでOpacityをペイントできるようになりました!発売してから2年経ちましたが200個売れました!購入してくれた皆様、ありがとうございました😂
要望も是非!
https://t.co/EL4RmnfgWM


Marin ❤️
Each retweet lowers glass opacity by 1%
#着せ恋 #MarinKitagawa #MyDressUpDarling


@ChurroArts @LumaYami I created additional hair pieces for just the parts that I wanted to glow and set up opacity toggles for each piece so I could animate the glow patterns I wanted


I do shading on a separate layer with black, then lower opacity. Then do another layer for deeper shadows (like under the arms and such)


@xeno_toast I love big, blocky cells, but I'm starting to incorporate opacity gradients and gradient maps. I think I can get them to work in motion too.


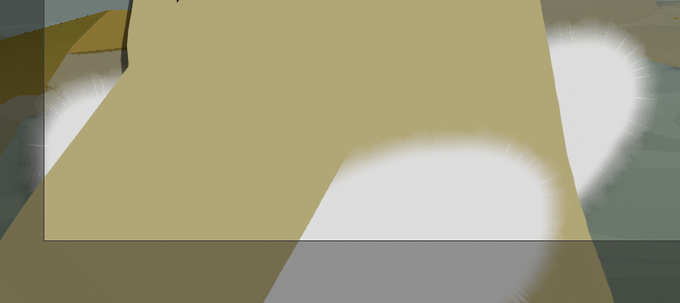
An hour late, but here's a quick and rough coloured sketch for #VelociraptorAwarenessDay - using pressure opacity at the same time as pressure brush size for the heck of it, was fun but impractical


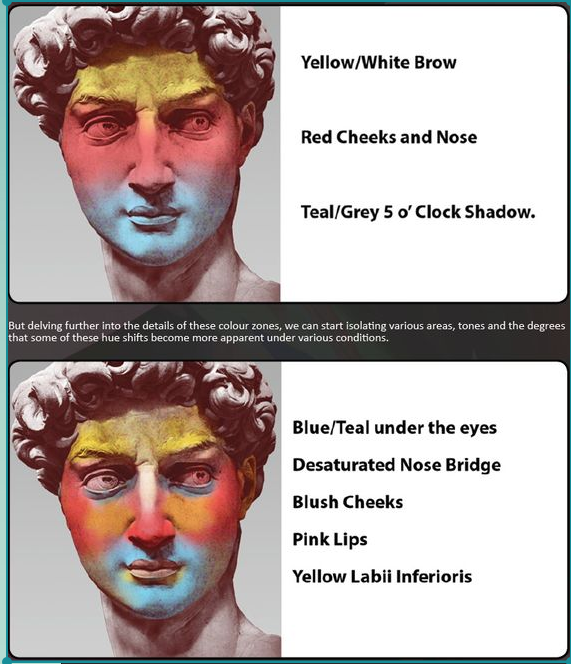
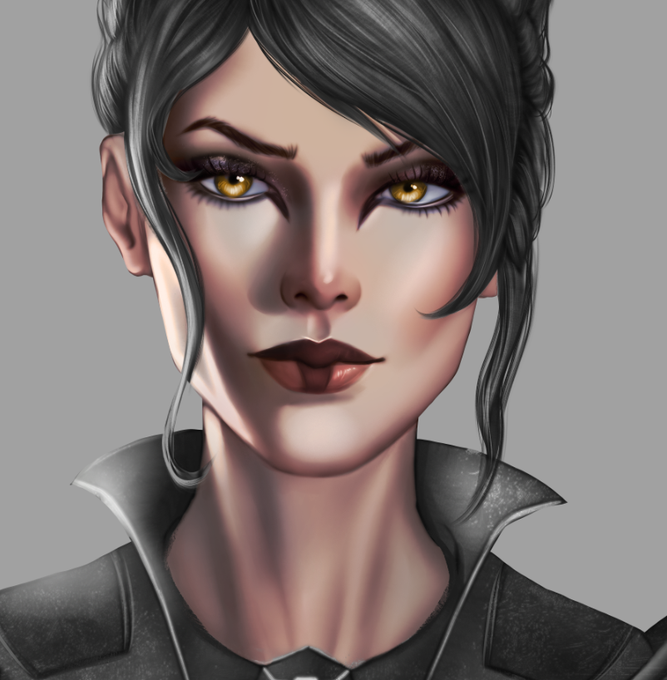
Then I put a new layer, everything is set to color at this point. Using/Remembering a reference I apply different tones to face, usually lowering the opacity so it blends with everything nicely.
Pic 1 - Reference.
Pic 2 - How the tones look applied and blended.


reuploaded the ref sheet to add the height and because i didn't realize the eye star layer was at about half opacity
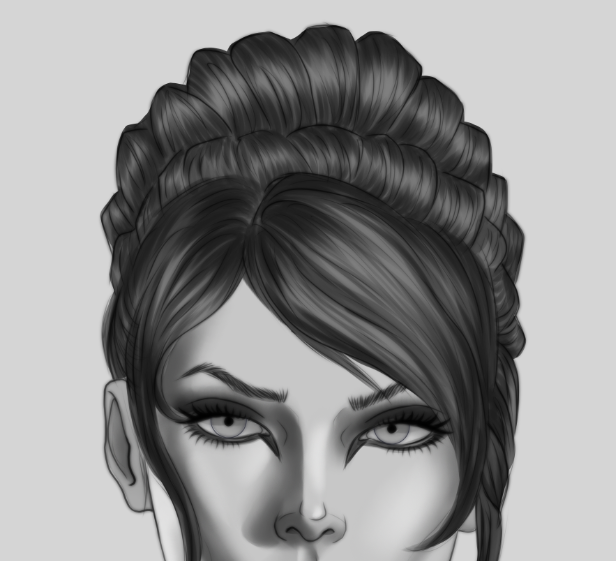
Using a hard brush with a pressure-opacity, with quick short movements gives hair a really cool texture.
Now it's time to make shading on it more deep, not really worrying on light.
With each layer on hair shading, I make my brush smaller, so it imitiates hair better.
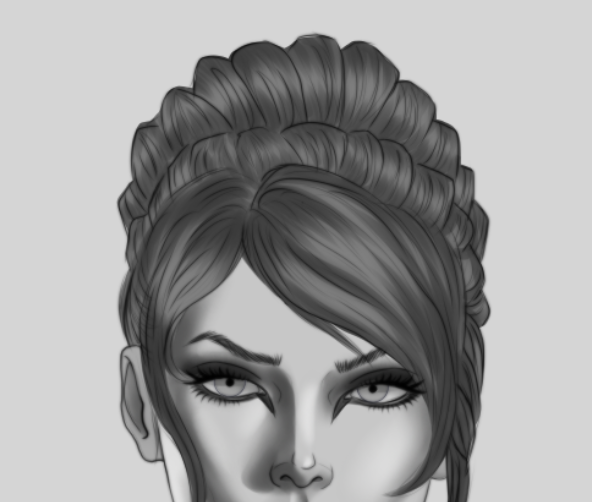
When shading hair, I apply it in strokes, with hard brush.
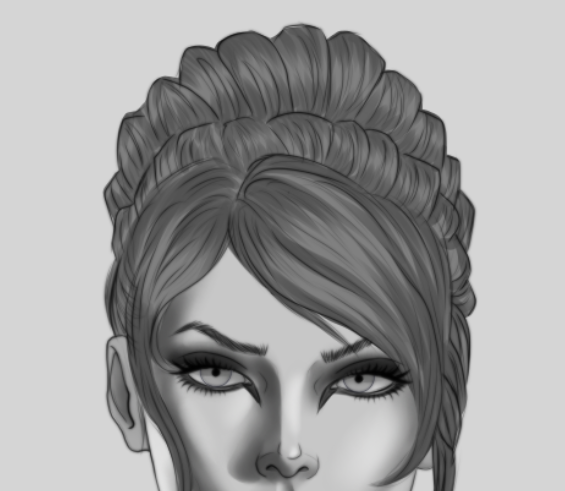
Then copy pasting the same layer and smudging it with guassian blur.
Then I move the opacity a bit to get a nice first layer base.
Pic 1 - Hard strokes.
Pic 2 - Copy, blur and opacity correction.