
Vava 🐀さんのイラストまとめ
@CapitaineVavaFollow @CapitaineVavaさんをフォローする
Dyspraxic/autistic artist / OCs
Il/he/him Français/English / 24yo
mynameisroger.thecomicseries.comIl/he/him Français/English / 24yo
フォロー数:2462 フォロワー数:127
316 件中 191〜200件を表示


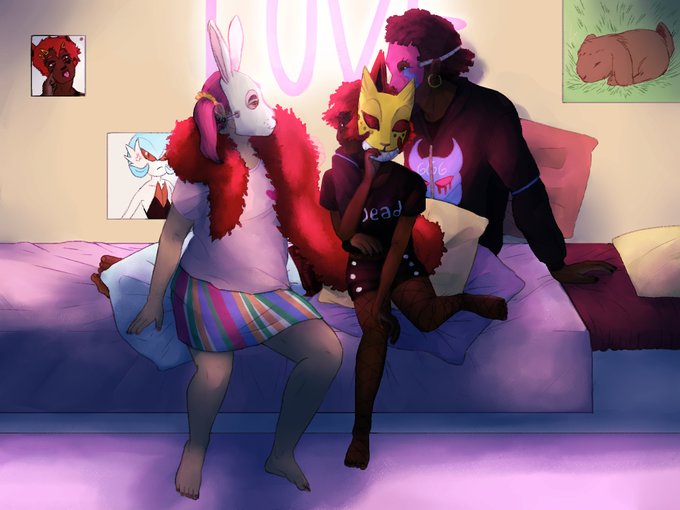
I don't want to share my comic pages here because they would look bad on Twitter but,,, new OC
0
0


Less or more serious fanarts for the gorgeous webcomic Heart of Gold!
https://t.co/zs8JqEeuoC
0
0


My Animal Crossing villager sona!
Her name is Petra, she's a peppy eagle and she wears natural clothes.
"EVERYONE LOOK I can juggle with my hat, oh worm!"
1
1

Something quick for school, it's one of the two projects I'm the closest to finish 😤
Circus AU Dominik, leader of the troup, and the father of the two clowns Andrzej and Frank when he was a bit younger. Now he is 56.
1
1