opacityのTwitterイラスト検索結果。 1,338 件中 10ページ目


Here's a crop of my final art with snowfall added. Standard brush at different sizes with a little motion blur. Then I stuck a mask on and went in with a medium opacity brush to knock some of the flakes back a bit.


Something I really like doing in my more painted digital works is adding this sort of gauze texture to them and putting it on really low opacity and/or a layer style. And sure, half the reason is that texture make brain go brr but the other half is more complex than that


uhh have this aggie sketch of mezzo with a low opacity me in the corner this is like. okay. its not my fave mezzo but i was busy so :/


"I mean, seriously, what's going on with your outline Daisy?"
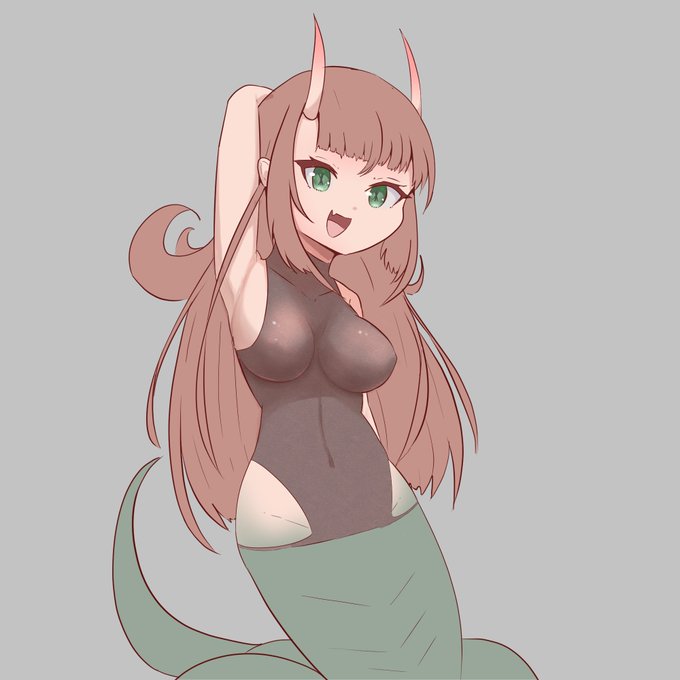
"What's with the opacity with Peachy?"
👑🍑🌼Art by @DoJayMi 👑🍑🌼


Then, with a 90-80 opacity brush, color pick the color between your base color and your hard color, this is a contact tone:


She's done. #Gardevoir is waving your way, say Hi :)
I did tried shading with the opacity brush and with solid color shading and it turned alright though I feel I did it weird but I like it. some tip would be appreciated
#pokemon #pokemonart #furry #digitalart #shading #fanart

Will write an in-depth tutorial but my process for portraits and everything is: a sketch I feel confident "sculpting" on. One layer, 90% brush opacity


testing texture opacity on twitter compression, 10%, 15%, 20%. ignore.


-add filters, usually overlays or multiplys of the piece's colour
-shade eyes
-fuck around with the background (lines, shapes, glitch effects etc)
-merge all layers
-add chromatic aberration (opacity 10-20%)
Done ! Heres are some better examples of my method


QRT with how you work in steps !
-rough sketch
-thin linework in a low opacity for variation and shading
-gray base colour and then fill in
-dark shading in black in two layers
-bright rim lighting on the darkest edges
-lighter rims on the lighter edges
(1/2) https://t.co/2P6zZCKU2g


-Messy sketchy Usually in red.
-Put a Black layer at some opacity to turn the red line to red-brown line
-Start 'clear brushing' or erasing the messy line until I carve out the finished line
-Color
-Warm Shadows
-Red/Pink gradient overlay.
-Ground Shadow for spacial reference https://t.co/rW772SAHk9

@sgt_wd03 so I made this sign in PS, then bring into Cinema4d and render it using Arnold with heavy bloom(lens effects) turned on for the glow. The black in the texture is used as my opacity mask.


can someone help me with a code thing... i made a section on toyhouse opaque but it made the moodboard images opaque and i dont want them to be opaque!! and i cant figure out how to make them not opaque
i tried setting the opacity manually before each image to 1 but it didnt work


God in the Machine by @ColeMartyn2
I love the energy and intentionality. Particularly the burst of yellow and red low opacity flames. I'm all about the cyborg on top and katana on bottom. Cool hand-drawn vibe suggests epic and timeless


@TopoGigio_sol @PenguloveNFT 2/ Then I use a circle tool to create the orbitals and then add the smaller planet bodies, rings, comet
The planet with the glass feel was me playing with opacity
I use glow blending mode to make them luminescent


Added some highlights using a 45% opacity "overlay" layer, and also by erasing parts of the gradient shadow layer.
I also added a few more shadows, and increased the saturation of the linework/shadows to make them look a bit warmer.

New normal layer at 45% opacity, added drop/cast shadows using the same color as the linework.


shading with purple in multiplier 50% opacity is over <\3 https://t.co/OEhsAyxTCO